Keyboard shortcuts:
N/СпейсNext Slide
PPrevious Slide
OSlides Overview
ctrl+left clickZoom Element
If you want print version => add '
?print-pdf' at the end of slides URL (remove '#' fragment) and then print.
Like: https://wwwcourses.github.io/...CourseIntro.html?print-pdf
Hands on HTTP requests with demo project (TodoApp)
Created for
Created by
Setup json-server and DB
Setup json-server and DB
Overview
- For our TodoApp demo project, we can use the json-server, as it is freely available on NPM and ready to use.
- Please note, that this server is useful only for learning purposes and you must not use it for any production code.
Installation
- Install json-server
- To prevent polluting your global environment, it's recommended to install NPM packages locally, i.e. without the
-goption. - Also, if we need the package just for dev purpose , then it's recommended to install it as dev dependency
- We'll talk more deeply on installing npm packages in 'NodeJS and NPM Overview' topic.
			# navigate to your project root folder
			$ cd /path/to/TodoApp

			# install locally json-server package as dev dependency:
			npm install json-server --save-dev
Create the DB file
- In project root folder create the file
db.jsonwith next content:
			{
				"todos":[
					{
						"id": 1,
						"title": "Learn HTML",
						"completed": false
					},
					{
						"id": 2,
						"title": "Learn CSS",
						"completed": false
					},
					{
						"id": 3,
						"title": "Learn JavaScript",
						"completed": false
					}
				]
			}
Start the server
- All locally installed NPM packages place the executable commands in
./node-modules/.bin/folder. You can start json-server by: - Or you can use npx which executes 'command' either from a local node_modules/.bin, or from a central cache, installing any packages needed in order for 'command' to run.
$ ./node_modules/.bin/json-server --watch db.json
json-server started screenshot
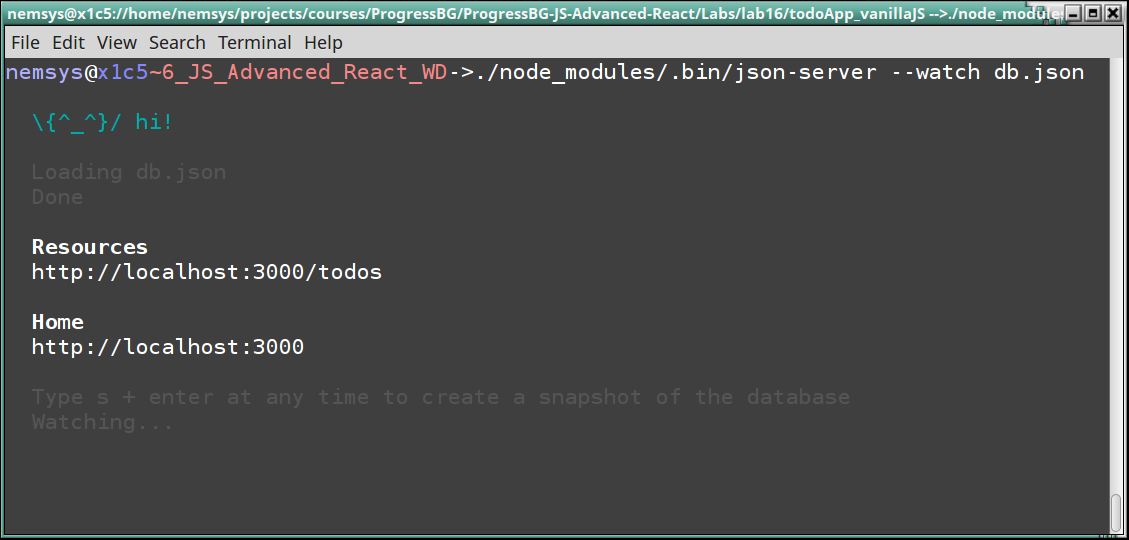
Do not close (or press CTRL+C) the Terminal, as the server will be killed!
References
- Video Tutorial: Creating demo APIs with json-server
- Official docs: json-server
json-server endpoints
json-server endpoints
Overview
- For our TodoApp, we need the server to be capable of serving next requests and taking expected actions:
- The json-server we've setup can serve all of them, even more: Routes in json-server
- A tutorial on how to send these requests to json-server with fetch api can be find on https://jsonplaceholder.typicode.com/guide/
| Method | Path (Route) | Action |
|---|---|---|
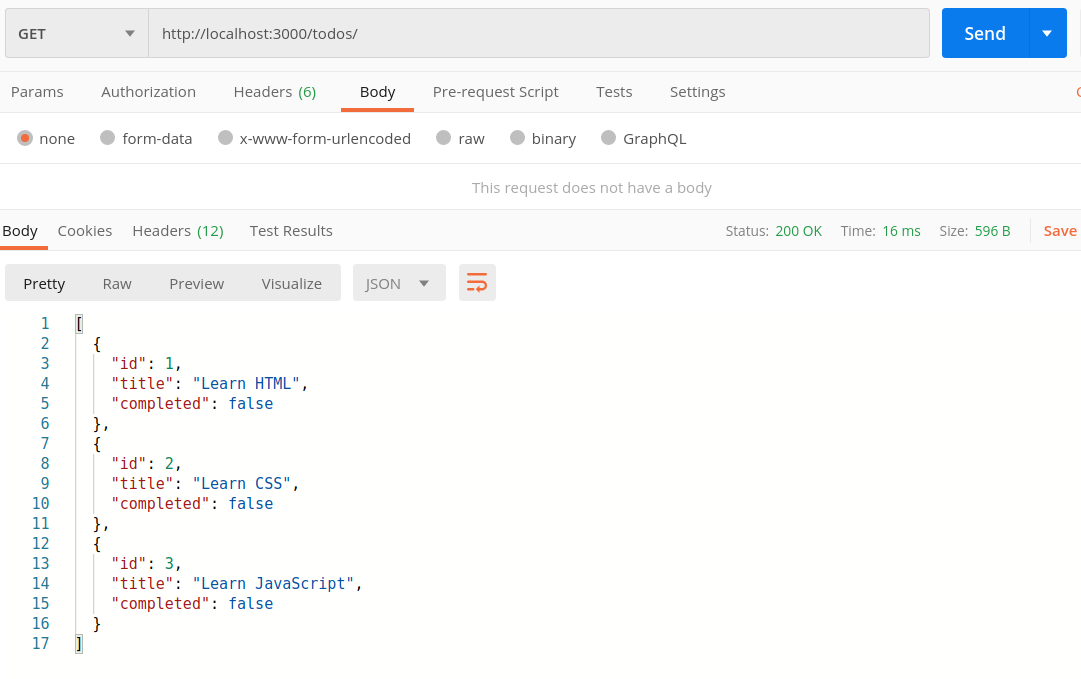
| GET | /todos | get all todos |
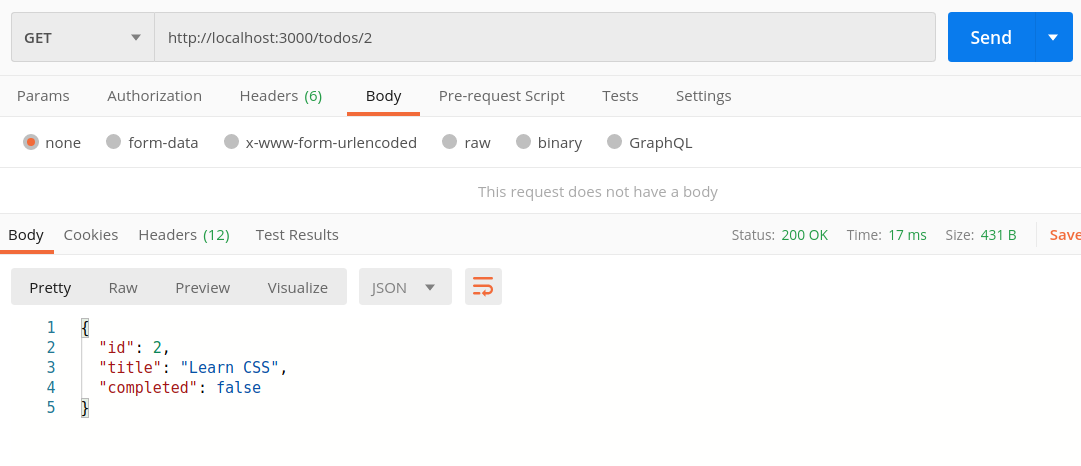
| GET | /todos/id | get Todo by id |
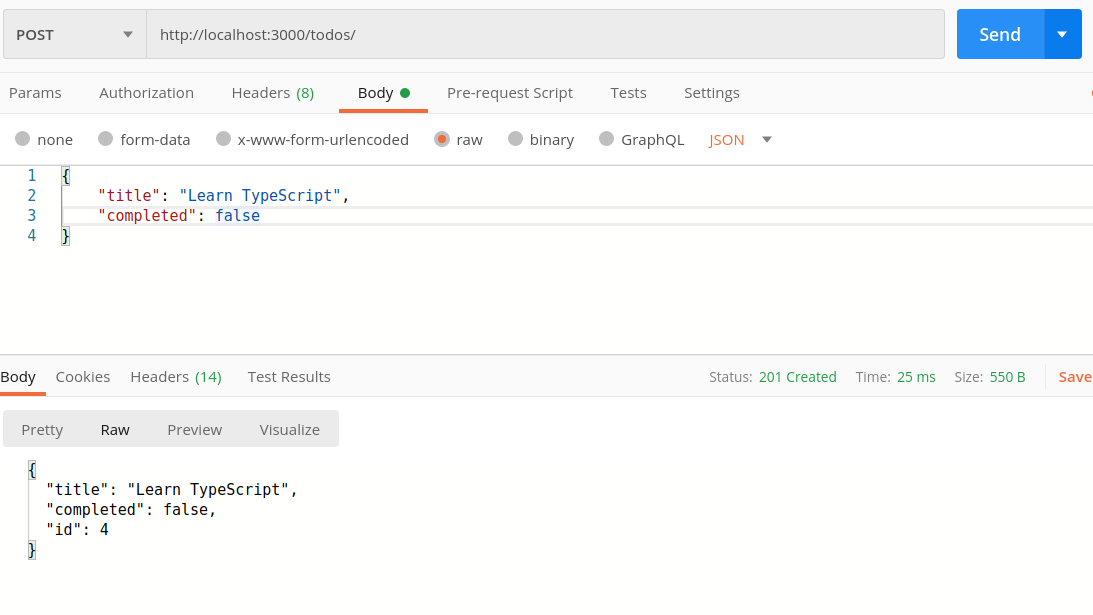
| POST | /todos | add new Todo |
| PUT | /todos/id | update Todo by id |
| DELETE | /todos/id | remove Todo by id |
json-server usage notes
- Your request body JSON should be object enclosed, just like the GET output. (for example {"name": "Foobar"})
- Id values are not mutable. Any id value in the body of your PUT or PATCH request will be ignored. Only a value set in a POST request will be respected, but only if not already taken.
- A POST, PUT or PATCH request should include a Content-Type: application/json header to use the JSON in the request body. Otherwise it will result in a 200 OK but without changes being made to the data.
Explore the Endpoints
Explore the Endpoints with Postman
- Before starting with coding, it's useful to get insights of the API Server endpoints. I.e. to send HTTP requests to the server and inspect the response. A useful tool for such API exploratory tasks is postman
- If you don't want to install postman, you can use a browser extension to test Restful API Server, like chrome's RestMan extension
- Next slides will present you a screenshot of Postman for each request we need to inspect
GET /todos (get all todos)
GET /todos/id (get Todo by id)
POST /todos (add new Todo)
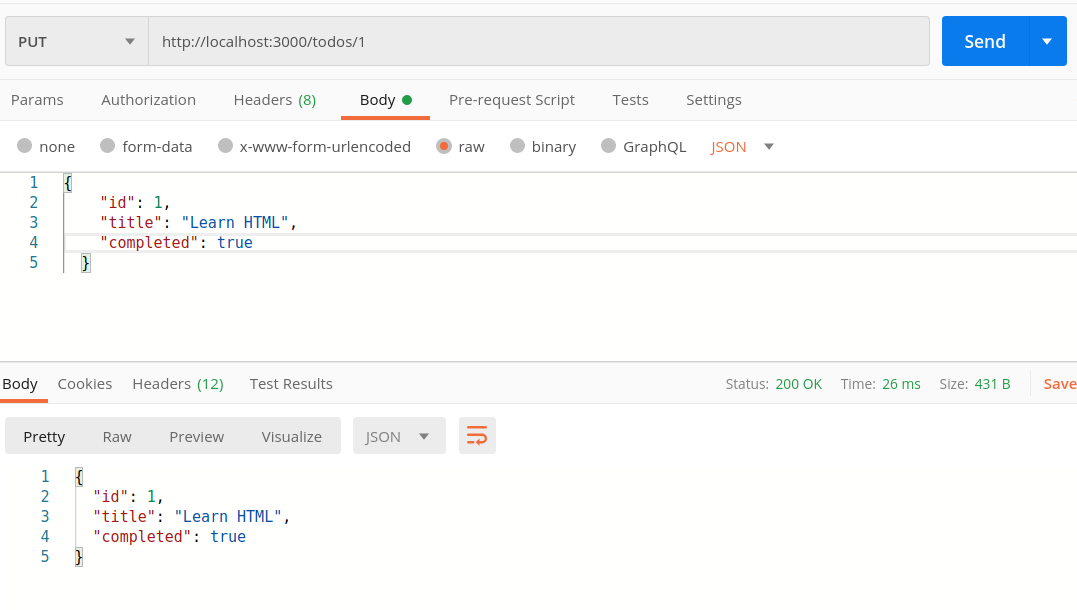
PUT /todos/id (update Todo by id)
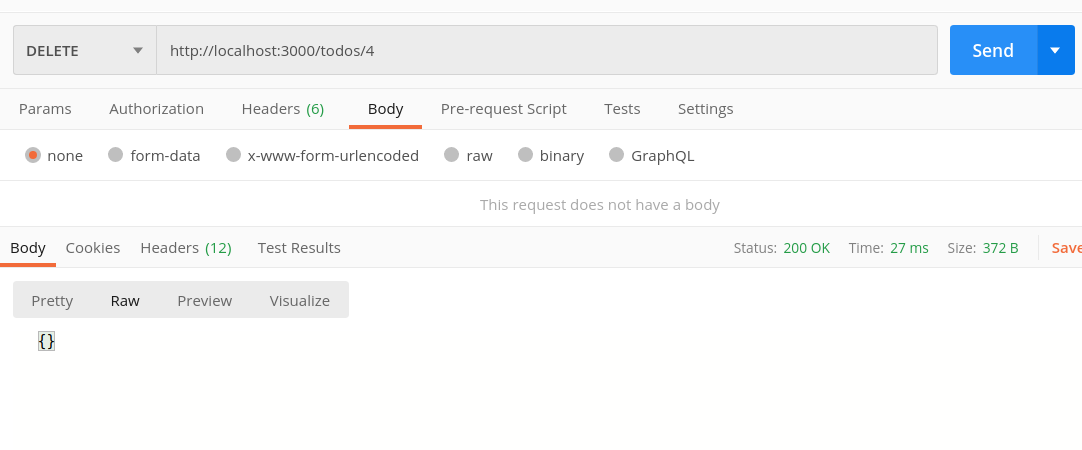
DELETE /todos/id (remove Todo by id)
Exercises
Task: TodoApp
- Направете отделен проект TodoApp и го инициализирайте като git repo. След като приключите със задачата качете проекта си в Github и ми изпратете мейл с линка.
- Използвайте json-server за вашия проект, с първоначлно празна база данни за 'todos'.
- Външният вид и структура на приложението са изцяло по ваше желание, но е задължително да имплементирате минимум следната функционалност:
- Добавяне на ново todo
- Изтриване на todo
- Промяна и визуализация на приключено (competed:true) todo.
These slides are based on
customised version of
framework